Understanding Clean Architecture in iOS: A Beginner’s Guide
Tired of Spaghetti Code? 🍝 Let’s Clean Things Up in iOS!
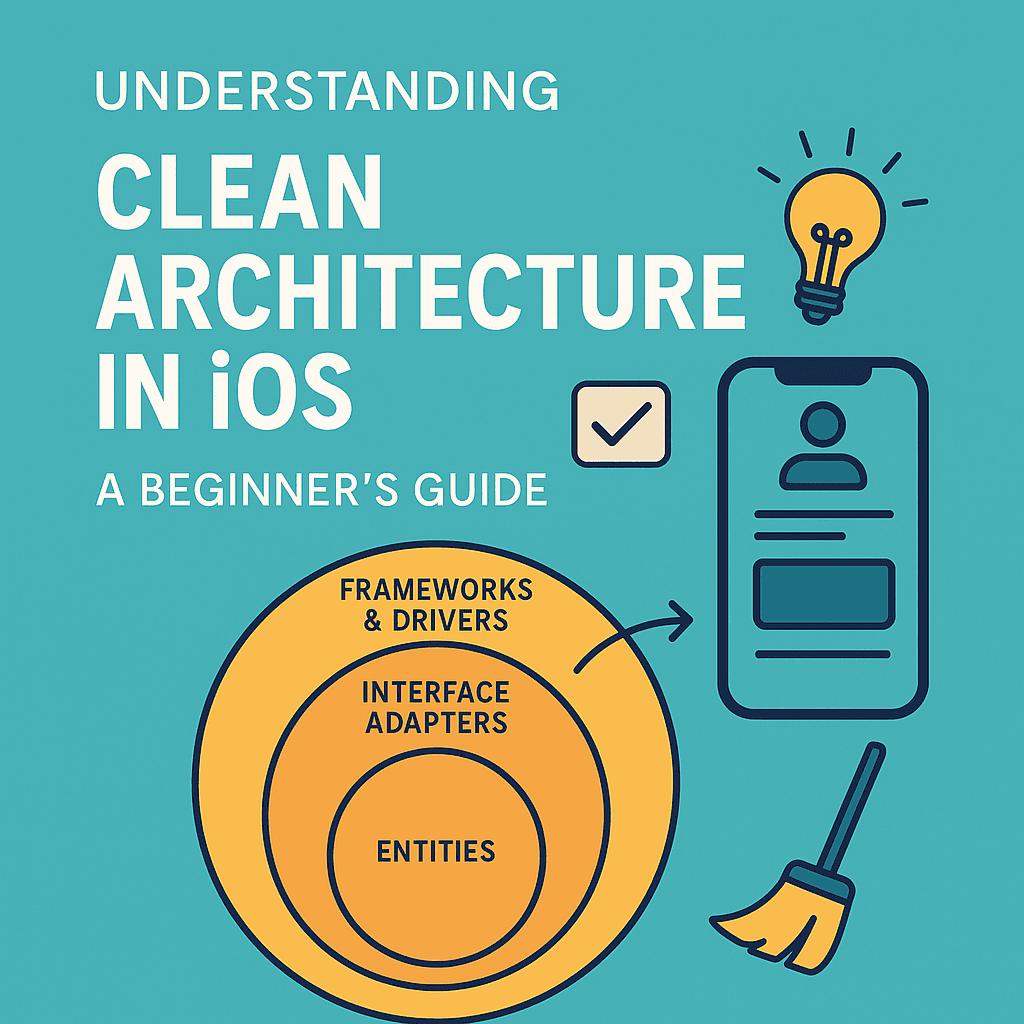

👋 Why Your iOS Project Might Be Due for a Deep Clean
Picture this: You’re six months into building an iOS app. Your ViewController has more responsibilities than a parent of triplets. It talks to the network, formats dates, makes UI decisions, maybe even brews coffee ☕️. And now, every new feature feels like diffusing a bomb. One wrong line and 💥 – nothing works.
If this sounds like your current situation, welcome to the club. We’ve all been there. It’s what many call the Massive ViewController Syndrome (not officially recognized by Apple, but it should be).
Enter Clean Architecture – a system that helps you separate your code into layers, so every piece knows its job and stays in its lane. Think of it like Marie Kondo for your codebase: organize, isolate, and spark some serious joy ✨.
In this beginner-friendly guide, we’ll break down what Clean Architecture is, why it matters, and how it fits into iOS development without making you want to flip your MacBook. Ready to clean up the mess? Let’s dive in. 🧹🚀
🧱 The Basics of Clean Architecture
Clean Architecture was introduced by Robert C. Martin (a.k.a. Uncle Bob 👴🏻, not the one who forgets your birthday). The goal? Build apps that are easy to change, test, and scale – without turning your brain into spaghetti every time you refactor 🍝.
At the heart of Clean Architecture is the idea of separation of concerns. That means splitting your code into layers where each layer has its own job and doesn’t peek into others like a nosy neighbor. The fewer dependencies between layers, the easier it is to make changes without breaking stuff.
Here’s a quick tour of the core layers:
🧬 Entities
These are your business objects or core data models – pure and unaware of the outside world. Think of them as monks in a monastery 🧘. They don’t care if you’re using UIKit, SwiftUI, or writing the app in crayon.
Example: A User struct with name, email, and subscriptionStatus.
⚙️ Use Cases / Interactors
The logic squad. They define what your app does – like “log the user in,” “fetch articles,” or “launch a meme into orbit” 🚀. They operate only on Entities and do not care about views or databases.
Think of it as: “When user taps Login, what should happen?”
🧙 Interface Adapters / Presenters
These act as translators between the outside world and your use cases. Presenters format data for the UI (like turning a timestamp into “5 mins ago”), while Controllers or ViewModels prepare input for the use cases. They’re like diplomatic interpreters – fluent in both business logic and UI needs.
🧱 Frameworks & Drivers (UI/DB/API)
This is the outermost layer – where your app actually touches the real world. Frameworks like UIKit, SwiftUI, CoreData, Alamofire… all live here. This layer is replaceable. That’s right. Clean Architecture says, “UIKit, you’re just a guest here. Behave.” 🫣
🔁 Rule of Dependency
“Code dependencies should always point inwards.”
The UI can know about the use case, but the use case should never know about the UI. Like how your dog knows you feed him, but your nutritionist shouldn’t know what kibble your dog eats 🐶.
🔄 Flow of Data: How Things Talk in Clean Architecture
Imagine your app like an office. The UI layer is the cheerful receptionist – greeting the user and collecting input. But they don’t make any decisions. They pass the message to someone higher up – like the Use Case, a stern manager who actually knows what to do. That manager might ask a data intern (aka Repository) to fetch something from storage, and once the work is done, a Presenter repackages the result nicely for the user.
In Clean Architecture, this data journey always flows inward and back outward – like a well-behaved boomerang 🪃.
Here’s how the flow looks:
📲 1. UI (ViewController / SwiftUI View)
User taps a button. UI says:
“Hey Use Case, someone wants to log in!”
⚙️ 2. Use Case (Interactor)
The use case goes:
“Got it. Let me validate the credentials and ask the Repository if the user exists.”
🗄 3. Repository / Gateway
Repository fetches from a database or API. It might say:
“Here’s the user data from our API. Now don’t break anything.”
🧙 4. Presenter
Now the presenter gets to work:
“Let me clean this up so the UI doesn’t scream at raw JSON again.”
🎨 5. UI (Again)
UI receives the prettified output and updates the screen:
“Login successful. Welcome, User123 😎”
And that’s it! Nobody crosses lanes. No direct View → API calls. No business logic hiding inside your ViewController like a ninja 🥷. Just clean, layered communication.
🛠 Clean Architecture in iOS – How It Actually Works
Alright, theory time is over. Let’s roll up our sleeves and get our hands dirty (but in a clean, testable way of course 😎).
We’re going to walk through a realistic example that applies Clean Architecture in an iOS project. Our use case? The age-old classic: Login 🧑💻
🔁 Flow at a Glance:
ViewController ⇄ ViewModel ⇄ UseCase ⇄ Repository ⇄ APIEach layer has a job and doesn’t poke its nose where it doesn’t belong. No gossiping between layers here. 😇
🧬 1. Entity — User.swift
This is your clean, pure model. No UIKit, no CoreData, no side-hustles.
struct User {
    let id: String
    let name: String
    let email: String
}
📡 2. Repository Protocol — UserRepository.swift
We define an interface so we can later swap implementations without the rest of the app freaking out.
protocol UserRepository {
    func login(email: String, password: String, completion: @escaping (Result<User, Error>) -> Void)
}
⚙️ 3. Use Case — LoginUseCase.swift
Here comes the core logic. The use case is like the boss who delegates and doesn’t deal with the UI drama.
protocol LoginUseCase {
    func execute(email: String, password: String, completion: @escaping (Result<User, Error>) -> Void)
}

final class LoginUseCaseImpl: LoginUseCase {
    private let repository: UserRepository

    init(repository: UserRepository) {
        self.repository = repository
    }

    func execute(email: String, password: String, completion: @escaping (Result<User, Error>) -> Void) {
        repository.login(email: email, password: password, completion: completion)
    }
}
🌐 4. Repository Implementation — UserRepositoryImpl.swift
This would typically call your network layer or database. Here, we’re faking it like every startup does in the demo. 🤷♂️
final class UserRepositoryImpl: UserRepository {
    func login(email: String, password: String, completion: @escaping (Result<User, Error>) -> Void) {
        DispatchQueue.global().asyncAfter(deadline: .now() + 1) {
            if email == "test@example.com" && password == "password" {
                let user = User(id: "123", name: "Karan Pal", email: email)
                completion(.success(user))
            } else {
                completion(.failure(NSError(domain: "Login", code: 401, userInfo: [NSLocalizedDescriptionKey: "Invalid credentials"])))
            }
        }
    }
}
🧙 5. ViewModel — LoginViewModel.swift
This is the glue between your View and Use Case. It prepares inputs/outputs without mixing any UIKit.
final class LoginViewModel {
    private let loginUseCase: LoginUseCase

    var onLoginSuccess: ((User) -> Void)?
    var onLoginFailure: ((String) -> Void)?

    init(loginUseCase: LoginUseCase) {
        self.loginUseCase = loginUseCase
    }

    func login(email: String, password: String) {
        loginUseCase.execute(email: email, password: password) { [weak self] result in
            DispatchQueue.main.async {
                switch result {
                case .success(let user):
                    self?.onLoginSuccess?(user)
                case .failure(let error):
                    self?.onLoginFailure?(error.localizedDescription)
                }
            }
        }
    }
}
🎨 6. ViewController — LoginViewController.swift
Finally, the UI layer — dumb, pretty, and bossed around by the ViewModel 😅
class LoginViewController: UIViewController {
    private let viewModel: LoginViewModel

    init(viewModel: LoginViewModel) {
        self.viewModel = viewModel
        super.init(nibName: nil, bundle: nil)
    }

    required init?(coder: NSCoder) {
        fatalError("init(coder:) has not been implemented")
    }

    override func viewDidLoad() {
        super.viewDidLoad()

        viewModel.onLoginSuccess = { user in
            print("Welcome, \(user.name) 🎉")
        }

        viewModel.onLoginFailure = { error in
            print("Login failed: \(error) ❌")
        }

        viewModel.login(email: "test@example.com", password: "password")
    }
}
🧩 Final Step — Wiring It All Together (App Start)
In SceneDelegate or wherever you bootstrap:
let repository = UserRepositoryImpl()
let useCase = LoginUseCaseImpl(repository: repository)
let viewModel = LoginViewModel(loginUseCase: useCase)
let loginVC = LoginViewController(viewModel: viewModel)
And voilà! 🎩 You’ve just built a login feature using Clean Architecture. You’re now officially too clean for spaghetti 🍝.
😵 “But Isn’t This Overkill?” (Spoiler: Not Always)
If you’re thinking:
“Wait a minute… that was a lot of files just to log someone in. Do I really need to build an Avengers-level architecture for my to-do list app?”
The answer is: No, not always.
Let’s break it down before you delete all your ViewControllers out of guilt 😅
🚀 When Clean Architecture Shines:
- You’re building a large app or a long-term project
- You work in a team, especially cross-functional ones
- You plan to write unit tests
- You want the flexibility to swap tech easily (e.g., switch from REST to GraphQL or UIKit to SwiftUI)
- You’re tired of playing “Guess That Side Effect” every time you open a massive ViewController
This architecture really pays off when complexity increases. It keeps your business logic safe from UI tantrums and third-party breakups 💔.
🛑 When It Might Be Overkill:
- You’re building a prototype, hackathon project, or weekend experiment
- Your app has only a couple of screens
- You’re working solo and need to ship something fast
- Your app isn’t expected to scale or be maintained long-term
In these cases, setting up Clean Architecture may slow you down. You can still write clean code without going full-on “Onion Layer Developer” 🧅.
⚖️ The Sweet Spot:
Use Clean Architecture _intentionally_, not religiously.
Start small:
- Use protocols and dependency injection early on
- Abstract use cases where business logic could grow
- Add layers as complexity demands, not because a blog told you to (well… not even this one 😅)
Think of Clean Architecture as the gym:
🏋️ Helps you get strong,
💤 Feels like too much at first,
🔥 But makes scaling easy when things get real.
🧪 Testing is a Breeze (Almost)
One of the biggest wins of Clean Architecture is that it makes testing feel less like dental surgery and more like playing with Lego. 🧱
Why? Because your logic lives in pure Swift, untouched by UI frameworks, databases, or scary async APIs. Which means…
✅ You Can Test Use Cases Without UI
Let’s say you want to test the login flow. No ViewControllers. No buttons. No spinners. Just pure business logic.
final class MockUserRepository: UserRepository {
    var shouldSucceed = true

    func login(email: String, password: String, completion: @escaping (Result<User, Error>) -> Void) {
        if shouldSucceed {
            completion(.success(User(id: "1", name: "Mock User", email: email)))
        } else {
            completion(.failure(NSError(domain: "Login", code: 401, userInfo: nil)))
        }
    }
}
func testLoginSuccess() {
let mockRepo = MockUserRepository()
mockRepo.shouldSucceed = true
let useCase = LoginUseCaseImpl(repository: mockRepo)
useCase.execute(email: "mock@test.com", password: "pass") { result in
switch result {
case .success(let user):
XCTAssertEqual(user.name, "Mock User")
case .failure:
XCTFail("Expected success but got failure")
}
}
}No UI needed. Just logic doing its thing and tests confirming it.
🧪 What Should You Test in Clean Architecture?
Clean Architecture makes it super easy to know what to test and where to test it.
Here’s a breakdown, Medium-style:
- ✅ Entities: These are your pure data models and rules. Test any validations or logic inside them with unit tests.
- ✅ Use Cases: These deserve the most love. You should write unit tests for each use case (e.g., login, fetch items) to check business logic and decision-making.
- ⚠️ ViewModels: You can test them if they contain formatting or output logic (like turning a timestamp into “5 mins ago”). These are usually a mix of unit tests and UI tests depending on what they handle.
- 🚫 Views (UIKit / SwiftUI): Don’t worry about unit testing views unless you’re doing snapshot testing or automating UI with XCUITest. For Clean Architecture, your views should stay as dumb as possible.
- 🚫 Frameworks / Drivers (e.g., CoreData, Alamofire): These are often best covered with integration tests, and only when absolutely necessary.
🧠 Bonus: Your CI/CD Team Will Love You
- Faster builds
- More isolated failures
- No flaky UI tests causing Slack meltdowns 🔥
Testing in Clean Architecture isn’t just easier — it’s actually enjoyable (okay, that might be pushing it… but at least less painful 😅).
🧼 Cleaner Code, Calmer Mind
We started with a bloated ViewController and a dream. Along the way, we:
✅ Broke down Clean Architecture into bite-sized layers
✅ Saw how data flows like a zen waterfall 🧘♂️
✅ Integrated it in a real-world login example (without flipping our MacBooks)
✅ Proved that yes, you can test your logic without UI headaches
✅ And admitted — it’s not always necessary, but when it is, it’s chef’s kiss 👨🍳💋
Clean Architecture might feel like “a lot” at first, but once you start using it intentionally, you’ll wonder how you ever managed without it. Your teammates will thank you. Your future self will thank you. And your ViewControllers? They’ll finally get the vacation they deserve. 🌴
**MVC vs MVVM vs VIPER in iOS: Which Architecture Should You Choose in 2025?** _In this no-fluff breakdown, we’ll compare the good, the bad, and the “wait… why is this so complex?” of each…_medium.comhttps://medium.com/swift-pal/mvc-vs-mvvm-vs-viper-in-ios-which-architecture-should-you-choose-in-2025-38386312e0c1
🎉 Enjoyed this article? Your support means the world to me!
💬 Drop a comment below! I love hearing about your experiences and answering questions
🎬 Subscribe on Youtube and become early subscribers of my channel: https://www.youtube.com/@swift-pal
💼 Let’s connect on LinkedIn for more professional insights: https://www.linkedin.com/in/karan-pal
Happy coding! 🚀
New articles, straight to your inbox.
No spam, no filler — just new writing on iOS, the web, and AI when it ships. Unsubscribe anytime.
Keep reading
Your CPU Has More Cores Than Your Job Can Use
Some work splits cleanly across hundreds of cores. Other work is a chain of steps where every new step has to wait for the last one to finish.
ReadYour Password Isn’t as Random as You Think
Crack-time calculators measure the size of a theoretical password space—not how people actually choose passwords or how attackers search them.
Read