UI Testing a SwiftUI Form: TextFields, DatePicker, Toggles, and Validations in Action
Learn how to build and UI test a real-world SwiftUI form with text fields, toggles, pickers, and validation logic. This guide walks you…

👋 Introduction
So you’ve built a shiny SwiftUI form. It collects names, emails, maybe even birth dates. You’ve styled it just right, and the button turns blue when everything’s valid — ✨chef’s — wait no, we’re not doing that overused stuff. 😅
Now the question is: can you trust it?
What if the email field lets invalid text through? What if the Save button is tappable even when nothing’s filled out? What if your app says “form submitted” but nothing actually happened?
This is why UI testing forms in SwiftUI matters. You’re not just testing if a button works — you’re validating your entire user flow.
In this article, you’ll learn how to:
- Build a real-world form using
TextField,Toggle,DatePicker, andPicker - Add accessibility identifiers to make the form testable
- Hook it up to a ViewModel for smart validation
- Write rock-solid UI tests using
XCTest
Whether it’s a Profile Update form or a Support Request, these techniques apply to any form that matters (read: all of them 😅).
🔍 If you’re new to SwiftUI UI testing, you might want to check out this first: 👉 _UI Testing in SwiftUI (2025 Guide)_
Let’s get testing 🧪
**UI Testing in SwiftUI (2025 Guide): Write End-to-End Tests for Reliable iOS Apps** _UI testing got you sweating bullets? 🫠 In this 2025 guide, you’ll learn how to write reliable end-to-end tests for…_medium.comhttps://medium.com/swift-pal/ui-testing-in-swiftui-2025-guide-write-end-to-end-tests-for-reliable-ios-apps-164e4458ffdf
🧱 Building a Real SwiftUI Form for Profile Editing
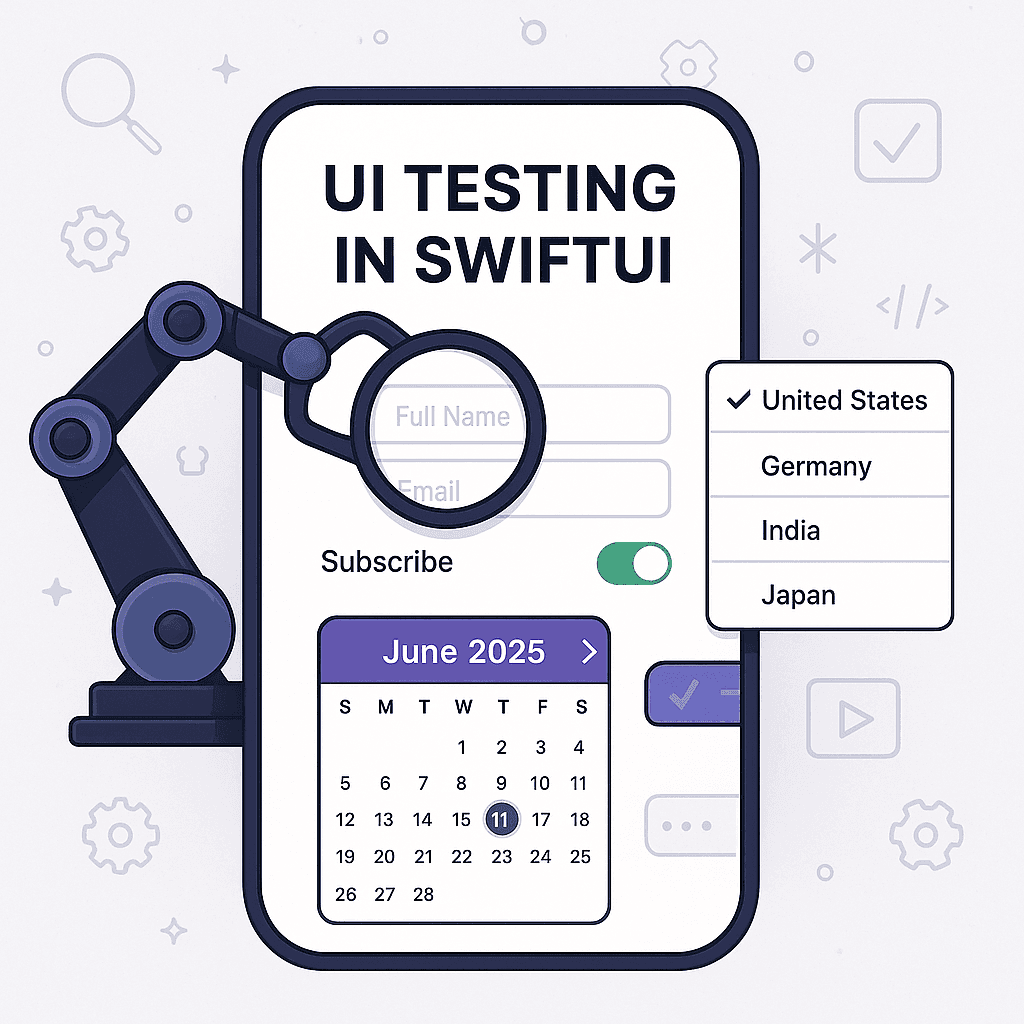
Let’s build a real-world profile form using SwiftUI’s built-in Form container — the same one you’d use in production. It provides native layout behavior, dynamic styling for light/dark mode, and plays nicely across devices from iPhone to iPad.
This form will include:
- Full Name —
TextField - Email Address —
TextFieldwith keyboard type - Date of Birth —
DatePicker - Country —
Picker - Newsletter Subscription —
Toggle - Save Button — disabled until the form is valid (we’ll handle that soon)
Here’s the SwiftUI view:
struct ProfileFormView: View {
    @State private var name = ""
    @State private var email = ""
    @State private var dateOfBirth = Date()
    @State private var selectedCountry = "United States"
    @State private var isSubscribed = false

    let countries = ["United States", "India", "Germany", "Japan", "Brazil"]

    var body: some View {
        NavigationView {
            Form {
                Section(header: Text("Personal Info")) {
                    TextField("Full Name", text: $name)
                        .accessibilityIdentifier("nameField")

                    TextField("Email", text: $email)
                        .keyboardType(.emailAddress)
                        .accessibilityIdentifier("emailField")

                    DatePicker("Date of Birth", selection: $dateOfBirth, displayedComponents: .date)
                        .accessibilityIdentifier("dobPicker")

                    Picker("Country", selection: $selectedCountry) {
                        ForEach(countries, id: \.self) {
                            Text($0)
                        }
                    }
                    .accessibilityIdentifier("countryPicker")
                }

                Section {
                    Toggle("Subscribe to Newsletter", isOn: $isSubscribed)
                        .accessibilityIdentifier("newsletterToggle")
                }

                Section {
                    Button(action: {
                        // Save logic will go here
                    }) {
                        Text("Save")
                            .frame(maxWidth: .infinity, alignment: .center)
                    }
                    .disabled(true) // Will be controlled by validation logic later
                    .accessibilityIdentifier("saveButton")
                }
            }
            .navigationTitle("Edit Profile")
        }
    }
}
🧪 Designed for UI Testing
This form layout is fully test-ready:
- Every field has a unique
accessibilityIdentifier - Inputs are grouped semantically in
Sections - Controls behave consistently across iOS versions
- No custom layouts, no surprises — just clean, testable SwiftUI
👇 Want to explore more form patterns in SwiftUI? 👉 _Building Forms and Inputs in SwiftUI_
**Building Forms and Inputs in SwiftUI: TextFields, Pickers, Toggles & More** _Learn how to build beautiful and functional forms in SwiftUI using TextFields, Pickers, Toggles, and more. From simple…_medium.comhttps://medium.com/swift-pal/building-forms-and-inputs-in-swiftui-textfields-pickers-toggles-more-14d1aafcffe9
🧠 Adding Validation with a ViewModel
Let’s shift the business logic — like checking if the email is valid or if the name isn’t empty — out of the view and into a ViewModel. This follows the MVVM pattern, which not only makes your code more testable and readable, but also keeps the SwiftUI view focused purely on presentation.
We’ll move:
- All form field values to the ViewModel
- Validation logic to computed properties
- A single
isFormValidflag to toggle the Save button
🧱 The ViewModel
class ProfileFormViewModel: ObservableObject {
    @Published var name: String = ""
    @Published var email: String = ""
    @Published var dateOfBirth: Date = Date()
    @Published var selectedCountry: String = "United States"
    @Published var isSubscribed: Bool = false

    var isFormValid: Bool {
        !name.trimmingCharacters(in: .whitespaces).isEmpty &&
        email.contains("@") &&
        Calendar.current.dateComponents([.year], from: dateOfBirth, to: Date()).year ?? 0 >= 13
    }
}
💡 Here, we’re checking:
- Name is not empty
- Email contains an “@”
- User is at least 13 years old (a common age restriction)
🧩 Connecting the View to the ViewModel
Update the ProfileFormView to bind all fields to the ViewModel instead of local @State.
struct ProfileFormView: View {
    @StateObject private var viewModel = ProfileFormViewModel()

    let countries = ["United States", "India", "Germany", "Japan", "Brazil"]

    var body: some View {
        NavigationView {
            Form {
                Section(header: Text("Personal Info")) {
                    TextField("Full Name", text: $viewModel.name)
                        .accessibilityIdentifier("nameField")

                    TextField("Email", text: $viewModel.email)
                        .keyboardType(.emailAddress)
                        .accessibilityIdentifier("emailField")

                    DatePicker("Date of Birth", selection: $viewModel.dateOfBirth, displayedComponents: .date)
                        .accessibilityIdentifier("dobPicker")

                    Picker("Country", selection: $viewModel.selectedCountry) {
                        ForEach(countries, id: \.self) {
                            Text($0)
                        }
                    }
                    .accessibilityIdentifier("countryPicker")
                }

                Section {
                    Toggle("Subscribe to Newsletter", isOn: $viewModel.isSubscribed)
                        .accessibilityIdentifier("newsletterToggle")
                }

                Section {
                    Button(action: {
                        // Save logic
                    }) {
                        Text("Save")
                            .frame(maxWidth: .infinity, alignment: .center)
                    }
                    .disabled(!viewModel.isFormValid)
                    .accessibilityIdentifier("saveButton")
                }
            }
            .navigationTitle("Edit Profile")
        }
    }
}
🔄 Why Use a ViewModel?
- Keeps your SwiftUI view clean
- Makes logic reusable and testable
- Centralizes validation, so your UI is dumb but dependable
🧱 Want to learn more about this pattern? 👉 _MVVM in SwiftUI Explained_
**MVVM in SwiftUI Explained: Build Scalable & Testable Apps with Clean Architecture** _Let’s unravel the mystery of MVVM and learn how to structure your SwiftUI apps with clean, testable architecture…_medium.comhttps://medium.com/swift-pal/mvvm-in-swiftui-explained-build-scalable-testable-apps-with-clean-architecture-2b36443ebfca
🧪 Writing UI Tests for the SwiftUI Form
Now that our form is fully structured and validation logic is handled via a ViewModel, it’s time to test it using XCTest. We'll write UI tests that simulate:
- Filling out form fields
- Toggling newsletter subscription
- Selecting a date and country
- Verifying whether the Save button is enabled or disabled
- Handling edge cases like empty or invalid input
🧰 Setting Up the UI Test Target
Before we start testing, let’s make sure your app has a UI Test target set up.
If you’ve never done this before, don’t worry — it’s straightforward, and we’ve covered the basics in our previous article:
📦 _Unit Testing in Swift Made Easy_ Learn how to set up testing targets, structure your tests, and avoid common mistakes in Swift unit testing.
**UI Testing in SwiftUI (2025 Guide): Write End-to-End Tests for Reliable iOS Apps** _UI testing got you sweating bullets? 🫠 In this 2025 guide, you’ll learn how to write reliable end-to-end tests for…_medium.comhttps://medium.com/swift-pal/ui-testing-in-swiftui-2025-guide-write-end-to-end-tests-for-reliable-ios-apps-164e4458ffdf
✍️ Writing Your First Form Test
Here’s how to write a test that fills out the form and confirms the Save button becomes enabled:
func testValidProfileFormEnablesSaveButton() {
    let app = XCUIApplication()
    app.launch()

    let nameField = app.textFields["nameField"]
    let emailField = app.textFields["emailField"]
    let dobPicker = app.datePickers["dobPicker"]
    let countryPicker = app.buttons["countryPicker"]
    let newsletterToggle = app.switches["newsletterToggle"]
    let saveButton = app.buttons["saveButton"]

    // Fill name and email
    nameField.tap()
    nameField.typeText("John Doe")

    emailField.tap()
    emailField.typeText("john@example.com")

    // Select valid date of birth (e.g., 8 October 1996)
    dobPicker.tap()
    app.staticTexts["June 2025"].firstMatch.tap()
    app.pickerWheels["2025"].firstMatch.adjust(toPickerWheelValue: "1996")
    app.pickerWheels["June"].firstMatch.adjust(toPickerWheelValue: "October")
    app.buttons["DatePicker.Hide"].firstMatch.tap()
    app.otherElements.element(boundBy: 106).tap()
    app.staticTexts["8"].firstMatch.tap()
    app.buttons["PopoverDismissRegion"].firstMatch.tap()

    // Select a country
    countryPicker.tap()
    app.buttons["India"].firstMatch.tap()

    // Toggle newsletter subscription
    newsletterToggle.tap()

    // Assert that the Save button is now enabled
    XCTAssertTrue(saveButton.isEnabled)
}
⚠️ Note: You may need to run the app with a specific launch argument or UI hosting controller if this form isn’t your default screen.
🧾 Step-by-step Explanation:
1\. Access UI elements by accessibility identifiers:
- Text fields:
"nameField","emailField" - Date picker:
"dobPicker" - Country selector (rendered as button):
"countryPicker" - Newsletter toggle:
"newsletterToggle" - Save button:
"saveButton"
2\. Enter text values:
- Taps the name and email fields and types valid input.
3\. Select a birth date (8 Oct 1996):
- Opens the date picker.
- Taps to switch from current view to year/month picker.
- Adjusts year and month wheels.
- Hides the picker.
- Taps the date (“8”) in the calendar view.
- Dismisses the popover (calendar).
4\. Select a country:
- Taps the menu-style Picker rendered as a button.
- Selects
"India"from the options.
5\. Toggle newsletter switch:
- Taps the switch to turn it on.
6\. Final Assertion:
- Confirms the Save button is now enabled (
XCTAssertTrue), meaning the form was validated successfully.
💡 Why This Matters:
This test ensures your form logic works end-to-end — validating fields, enabling buttons only when input is valid, and interacting with SwiftUI components as a real user would.
🚫 Test: Invalid Form Keeps Save Disabled
func testEmptyFormDisablesSaveButton() {
    let app = XCUIApplication()
    app.launch()

    let saveButton = app.buttons["saveButton"]

    // Without entering any data, the save button should be disabled
    XCTAssertFalse(saveButton.isEnabled)
}
🧪 Testing Gotchas to Watch For
UI testing SwiftUI forms can be surprisingly smooth — until it’s not. Here are a few quirks and lessons that’ll save you some serious debugging time:
- Use exact accessibility identifiers. Typos or missing
.accessibilityIdentifier("...")in your view can lead to flaky or completely failing tests. Double-check your labels match in code and test. - SwiftUI
**DatePicker**behaves differently than UIKit. Use a sequence of taps and.pickerWheelswhere necessary. Xcode’s UI test recorder is your best friend for these interactions. - SwiftUI
**Picker**inside**Form**= a button. When rendered in.menustyle (common in iOS Forms), Pickers become buttons. Tap the Picker button, then tap the desired option like a menu item. - Clear input fields if reusing the same simulator. Simulator keyboard sometimes remembers state across runs. Clearing text fields before typing avoids unexpected behaviors during test playback.
- Run your tests in both light and dark mode. Visual rendering may affect how buttons and popups are detected — especially for dynamic menus and date pickers.
🧾 Wrapping Up
And there you have it — a complete, real-world SwiftUI form that’s not just built but also UI tested like a pro.
In this article, we:
- Created a production-style form using
TextField,Toggle,DatePicker, andPicker - Hooked it up to a
ViewModelwith real-time validation - Wrote robust
XCTestUI tests that simulate user behavior and assert the form's correctness - Navigated quirks like SwiftUI’s menu-style pickers and calendar-based date selection
This isn’t just about testing if a button exists — it’s about making sure your app behaves like a responsible adult when users actually interact with it.
🚀 Want to go deeper into SwiftUI testing? Check out the parent guide: 👉 _UI Testing in SwiftUI (2025 Guide)_
🎉 Enjoyed this article? Your support means the world to me!
💬 Drop a comment below! I love hearing about your experiences and answering questions
🎬 Subscribe on Youtube and become early subscribers of my channel: https://www.youtube.com/@swift-pal
💼 Let’s connect on LinkedIn for more professional insights: https://www.linkedin.com/in/karan-pal
Happy coding! 🚀
New articles, straight to your inbox.
No spam, no filler — just new writing on iOS, the web, and AI when it ships. Unsubscribe anytime.
Keep reading
Your CPU Has More Cores Than Your Job Can Use
Some work splits cleanly across hundreds of cores. Other work is a chain of steps where every new step has to wait for the last one to finish.
ReadYour Password Isn’t as Random as You Think
Crack-time calculators measure the size of a theoretical password space—not how people actually choose passwords or how attackers search them.
Read