SwiftUI for Beginners in 2025: Build Your First iOS App Step-by-Step
This step-by-step guide will walk you through building your very first iOS app — no prior experience needed! Learn the basics, write real…
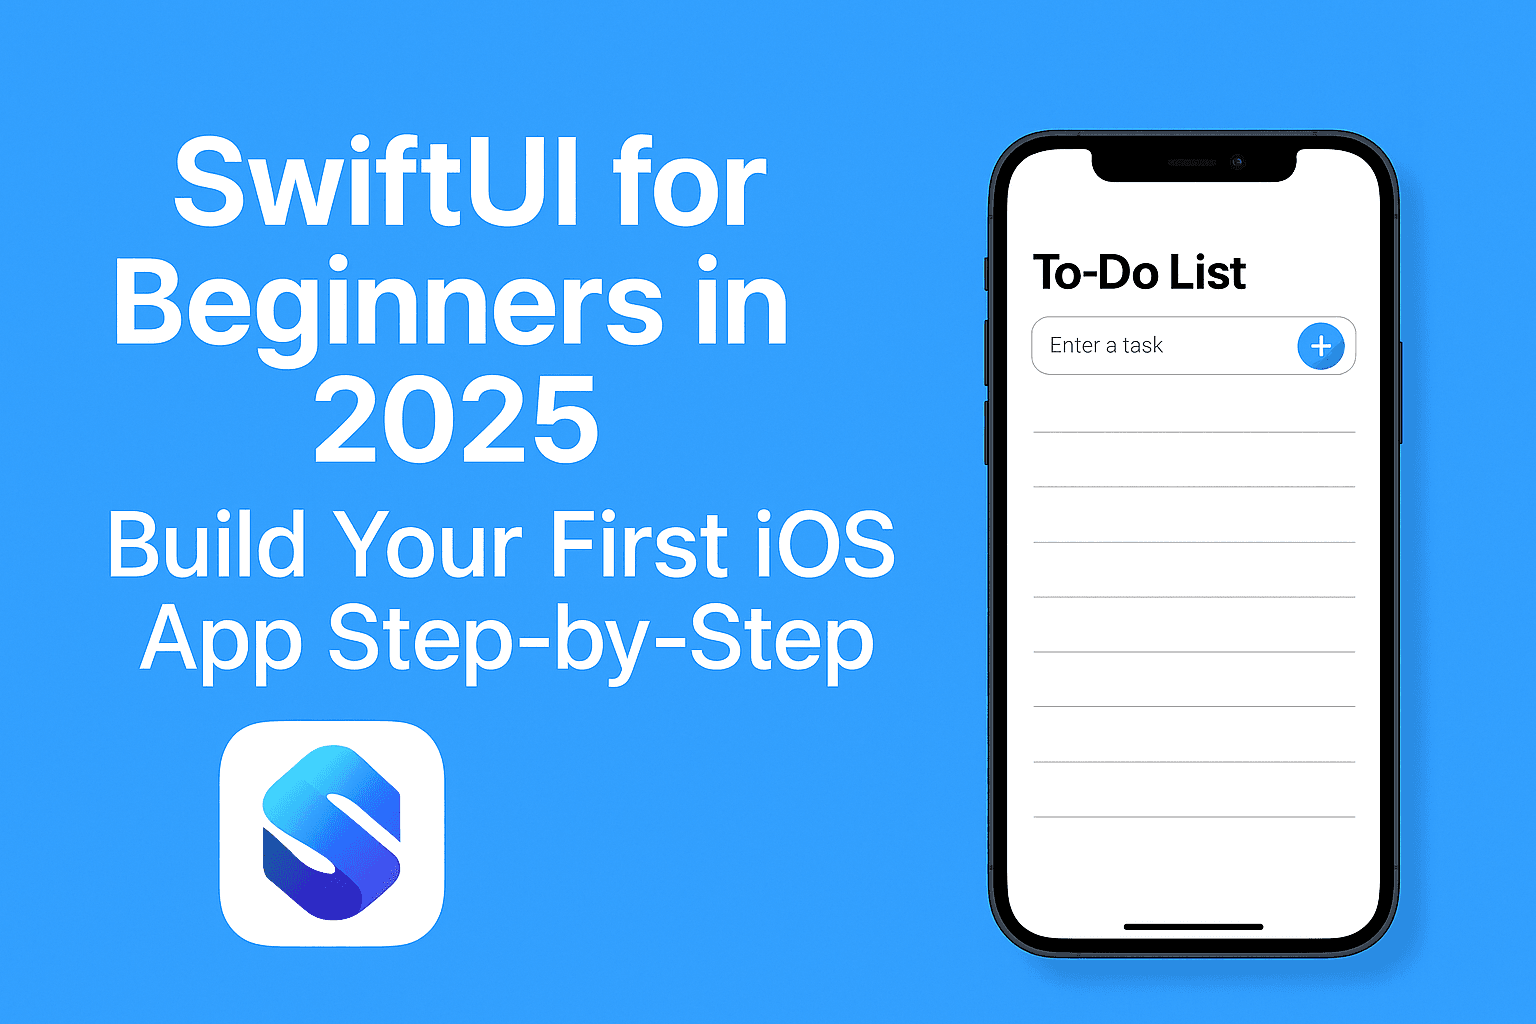

🧭 Introduction: Why SwiftUI in 2025?
So you’ve decided to build your first iOS app in 2025? Great choice! But here’s the twist — instead of diving into the tangled spaghetti of UIKit, we’re going modern with SwiftUI 🍝➡️🍜
SwiftUI has grown from Apple’s shiny new toy in 2019 to the default way of building iOS, macOS, and even visionOS apps. With iOS 26, Apple has made it more powerful, more stable, and (dare I say it?) even fun. 🎉
Whether you’re:
- A complete beginner who’s never touched Swift,
- A UIKit veteran finally giving in,
- Or someone just curious if SwiftUI really lives up to the hype…
This guide is your perfect starting point. We’ll build a simple app together, step-by-step, using real code (no hand-waving, I promise 🙌). And by the end, you’ll not only understand SwiftUI — you’ll have a working iOS app to show for it. How cool is that?
Let’s get your developer journey started 🚀
🧰 Setting Up Your Playground (Environment Setup)
Before we start writing SwiftUI magic, let’s get your playground ready. Think of this as setting up your digital kitchen before you start cooking 🍳👨🍳
✅ Step 1: Install Xcode (2025 Edition)
Head over to the Mac App Store and download the latest version of Xcode — it should be something like Xcode 16 (depending on the iOS 26 SDK). Don’t worry, it’s free… just kind of heavy. Like, “go-make-a-sandwich-while-it-downloads” heavy 🥪
✅ Step 2: Create a New SwiftUI Project
Once Xcode is installed:
- Open it up and select Create a new project
- Choose App under iOS → hit Next
- Name your app something fun like MyFirstSwiftUIApp
- Choose:
- Interface: SwiftUI
- Language: Swift

Hit Next and pick a folder to save your project
Now you’re staring at something like ContentView.swift. Welcome to your new canvas 🎨
✅ Step 3: Meet Xcode’s Interface
Here’s what you’ll typically see:
- Editor (middle): where your code lives
- Canvas (right): live preview of your app
- Navigator (left): where all your files are
- Inspector (far right): tweak your UI properties here

Pro Tip: If the preview isn’t showing, click Canvas in the top-right or press ⌘ + Option + Return
Next up, let’s learn the basic building blocks of SwiftUI — it’s where the real fun begins 🧱
🧱 SwiftUI Basics You Need to Know (Without Getting Overwhelmed)
SwiftUI is like LEGO for app development — small pieces that snap together to make something awesome 🧱✨ Here are a few of the key building blocks you’ll meet on Day 1:
🧠 @State – Your App’s Memory Box
When you want your UI to react to changes (like typing text or tapping a button), you use @State.
@State private var counter = 0Now every time counter changes, SwiftUI knows to refresh the screen.
📦 Layout Containers: VStack, HStack, ZStack
These are how you stack views:
VStack= vertical stack (top to bottom)HStack= horizontal stack (left to right)ZStack= layered stack (front to back)
VStack {
    Text("Hello")
    Text("World")
}
Easy, right? And trust me — you’ll use these a lot.
🧩 Views You’ll Use Constantly
Let’s introduce your starter kit:
Text("Hello"): to show textButton("Tap Me") { ... }: to trigger actionsTextField("Enter name", text: $name): input field (yes, with$for bindings!)
You don’t write UI in SwiftUI — you declare it, and SwiftUI builds the result. It’s like saying “make a sandwich,” and it actually listens 🥪💡
🔄 Live Preview = Instant Gratification
Here’s the best part: SwiftUI comes with a real-time preview. Just make sure your code compiles, and boom — see it instantly on the right pane.
#Preview {
    ContentView()
}
Hit that resume button ▶️ if preview goes sleepy.
Feeling warmed up? Because in the next section… we build your first real app 🏗️
🛠️ Let’s Build: A Simple To-Do List App
We’re building a basic To-Do app — where you can:
- Add a task ✅
- See it in a list 📃
- And delete it with a swipe 🧹
No databases, no rocket science — just clean, reactive SwiftUI magic 💫
📦 Step 1: Create State to Hold Input and Tasks
In your ContentView.swift, let’s start by creating some @State variables to store what the user types and a list of tasks.
struct ContentView: View {
    @State private var newTask: String = ""
    @State private var tasks: [String] = []

    var body: some View {
        // UI will go here
    }
}
As soon as your ContentView.swift looks like this, you will get errors. Don’t Panic
💬 Step 2: Add a TextField to Enter Tasks
Now, inside the body, we’ll add a TextField and a button to add new tasks.
VStack {
    HStack {
        TextField("Enter a task", text: $newTask)
            .textFieldStyle(RoundedBorderTextFieldStyle())

        Button(action: {
            if !newTask.isEmpty {
                tasks.append(newTask)
                newTask = ""
            }
        }) {
            Image(systemName: "plus.circle.fill")
                .font(.title)
        }
    }
    .padding()
    // VStack closing brace pending, as we will add more code inside it.
So far, this lets you type a task and tap a button to add it to your list!
📋 Step 3: Display Tasks in a List
Below the input section, we’ll show our tasks:
    List {
        ForEach(tasks, id: \.self) { task in
            Text(task)
        }
        .onDelete(perform: deleteTask)
    }
}
And define this function to handle deletion:
// Add this function after the body is declared.
func deleteTask(at offsets: IndexSet) {
    tasks.remove(atOffsets: offsets)
}
At this stage, your editor should look like below
🎁 Bonus: Add a Toggle for Completion (Optional!)
You can level this up by making each task a struct with a Bool isCompleted, and then use a Toggle to mark them done. But hey — let’s walk before we speedrun SwiftUI 🤓
At this point, you’ve:
- Learned
@State,TextField,Button,List, andForEach - Created a working app with add/delete functionality
🔥 That’s a huge win for a beginner — take a breath and admire your creation!
Next up: Let’s make it look a little less… 1998.
🎨 Polish It Up: Making Your App Look Good(ish)
SwiftUI makes styling a breeze. A sprinkle of padding here, a splash of color there — and boom, it’s a UI glow-up! 💅
🎨 Add Padding & Spacing (A SwiftUI Staple)
Let’s wrap your entire VStack in some padding so it doesn’t hug the screen edges like it’s scared.
VStack {
    // Input field & list
}
.padding() // Only add this line
Want more space between your items? Use Spacer() or .padding(.bottom, 10).
🎯 Use Fonts & Colors
You can give each task a little style — let’s make them bold and colorful:
Text(task)
    .font(.headline)
    .foregroundColor(.primary)
Try .secondary for a lighter look, or even .red, .green, .mint, etc.
✨ Add SF Symbols for Some Visual Flair
Apple’s SF Symbols give you icons for basically everything. You already used plus.circle.fill — here’s another one:
Image(systemName: "checkmark.circle")
    .foregroundColor(.green)
You can even mix it into your task rows later to show completed items ✔️
🌗 Built-In Dark Mode Support (No Extra Work!)
SwiftUI respects system appearance by default — light or dark mode, your app will adapt like a chameleon 🦎
But if you want to preview both:
- In Xcode, go to the Canvas preview
- Click the Environment Overrides icon (top right)
- Toggle between light/dark mode
Your app should just work in both themes. That’s SwiftUI’s built-in magic 🪄
Now your app doesn’t just work — it looks clean, modern, and dare we say, App Store-worthy?
Next up: let’s run the app and preview it like a boss.
🧪 Run, Preview, and Test Your App Like a Pro
You’ve built the app, styled it, and now it’s time to see that beauty in motion.
▶️ Use Live Preview (a.k.a. Instant Gratification)
SwiftUI’s Canvas shows your UI updates in real time — almost like coding with a mirror 😎
If the preview isn’t showing:
- Click Canvas in the top-right corner
- Or press
Option + Command + Return - Hit Resume if the preview’s asleep 😴
#Preview {
    ContentView()
        .preferredColorScheme(.light)
}
📱 Run on iPhone Simulator
Time to run it on a virtual iPhone:
- At the top bar of Xcode, select a device (e.g. iPhone 16 Pro)
- Hit that big play button ▶️
- Wait a few seconds (grab coffee if it’s your first run ☕)
- Boom — your app is alive!

Pro Tip: If your keyboard doesn’t show in the simulator, go to I/O → Keyboard → Toggle Software Keyboard.
🐞 Quick Troubleshooting Tips
- Preview not loading? Clean build folder
⇧ + ⌘ + K, then try again - App crashes on launch? Check for force unwrapped optionals (
!) — they’re often the villain 🧟 - Simulator frozen? Close and reopen the simulator. It’s dramatic sometimes.
You’ve just built, styled, and run your very first SwiftUI app. 🎉 That’s like climbing the beginner dev Mount Everest — without frostbite! 🏔️
Your final code should look like below
🚀 What’s Next in Your SwiftUI Journey?
You just built your first iOS app using SwiftUI in 2025. That’s not a small win — that’s a badge-worthy moment 🏅
But don’t stop here — SwiftUI is a galaxy, and we’ve just taken the first steps on the launchpad. Here’s what’s coming up in this series (and what you can explore next):
🔜 Up Next: Layouts Deep Dive
In the next part of the SwiftUI Mastery Series, we’ll break down:
VStack,HStack,ZStack(beyond just stacking)- How to use
Spacerandalignment - New layout goodies in iOS 26 (like
FlowLayout)
👀 Keep an eye out for: 📌 **SwiftUI Layout System Explained: VStack, HStack, ZStack & Grids**
**SwiftUI Layout Guide: VStack, HStack, ZStack & Grids Explained (2025 Edition)** _Confused about SwiftUI layouts? 🤔 This complete 2025 guide breaks down VStack, HStack, ZStack, and Apple’s official…_medium.comhttps://medium.com/swift-pal/swiftui-layout-guide-vstack-hstack-zstack-grids-explained-2025-edition-285fb89b5de5
💡 Challenge for You (Yes, You!)
Try modifying your To-Do app by:
- Adding a checkbox using
Toggle - Storing completed tasks
- Saving tasks using
AppStorage(a teaser for our persistence article)
You’ve got this! 🧠💪
🎉 Enjoyed this article? Your support means the world to me!
💬 Drop a comment below! I love hearing about your experiences and answering questions
🎬 Subscribe on Youtube and become early subscribers of my channel: https://www.youtube.com/@swift-pal
💼 Let’s connect on LinkedIn for more professional insights: https://www.linkedin.com/in/karan-pal
Happy coding! 🚀
New articles, straight to your inbox.
No spam, no filler — just new writing on iOS, the web, and AI when it ships. Unsubscribe anytime.
Keep reading
Your CPU Has More Cores Than Your Job Can Use
Some work splits cleanly across hundreds of cores. Other work is a chain of steps where every new step has to wait for the last one to finish.
ReadYour Password Isn’t as Random as You Think
Crack-time calculators measure the size of a theoretical password space—not how people actually choose passwords or how attackers search them.
Read