Demystifying @resultBuilder: The Magic Behind SwiftUI’s DSL
Learn how @resultBuilder transforms Swift code into powerful DSLs — complete beginner’s guide with working examples
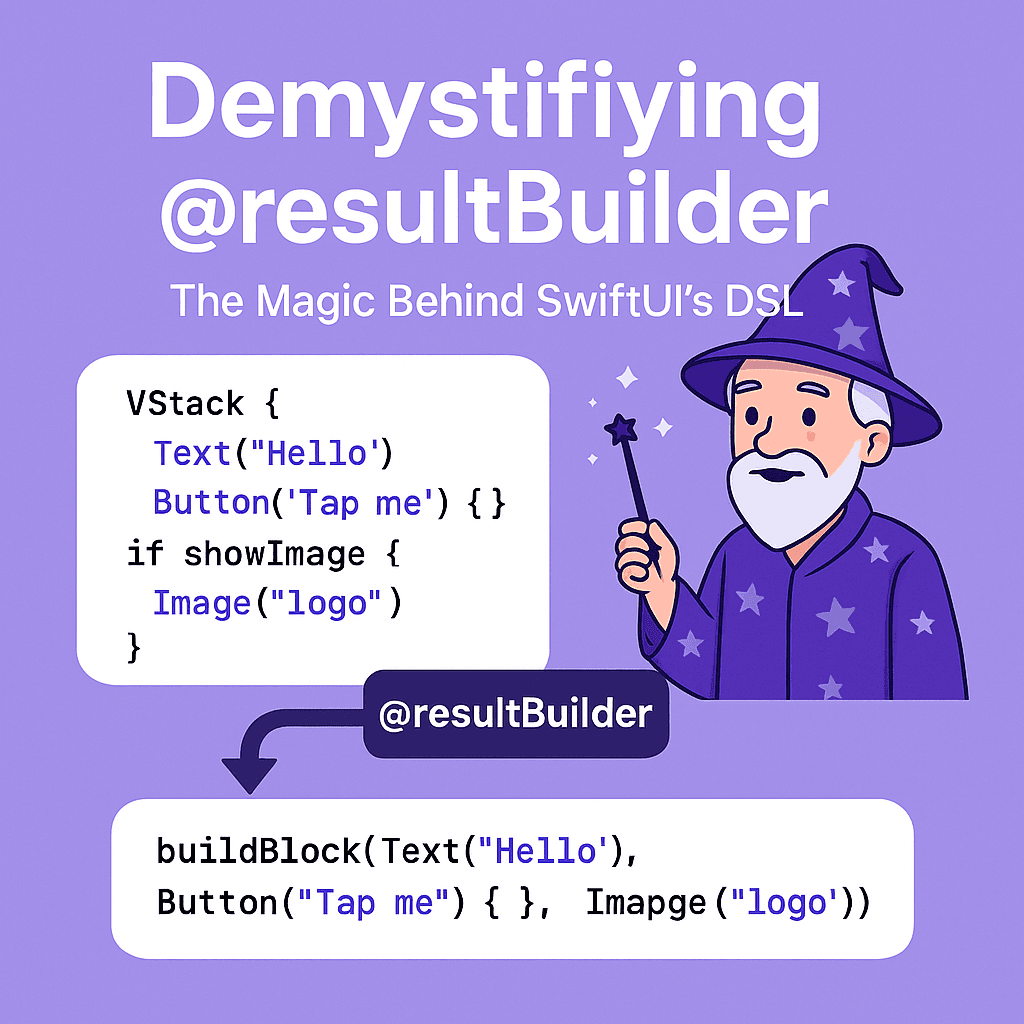

Ever looked at SwiftUI code and thought, “Wait, how is this even working without commas or arrays?”
VStack {
    Text("Hello")
    Button("Tap me") { }
    if showImage {
        Image("logo")
    }
}
No commas, no array syntax, no explicit combining of elements — yet somehow Swift understands exactly what you mean. It’s not sorcery — it’s all thanks to @resultBuilder, a feature in Swift that’s as elegant as it is under-documented. 🧙♂️
Let’s crack open the black box and see what’s really going on — by the end of this post, you’ll be building your own mini-language like it’s no big deal.
📚 The Evolution Story: From Experimental to Essential
Quick history detour! To really get how @resultBuilder works, it helps to see where it came from in Swift’s evolution.
Swift 5.1–5.3: The Experimental Era
Function builders started as an experimental feature, primarily designed to enable SwiftUI’s declarative syntax. They were powerful but rough around the edges, with limited documentation and frequent changes.
Swift 5.4: The Official Launch
With SE-0289, function builders were officially renamed to @resultBuilder and stabilized. This wasn't just a name change — it represented a commitment to making this feature production-ready.
Swift 5.7: Foundation Improvements
Multi-statement closure type inference (SE-0326) was introduced, laying the groundwork for better builder behavior and more reliable type checking.
Swift 5.8: When Things Got Real
This release completely rewrote compiler support for @resultBuilder. The new isolation-based type-checking dramatically improved compile times, enhanced diagnostics, and introduced variable lifting (SE-0373) — allowing lazy var, property wrappers, and local computed variables inside builders.
Swift 5.9: Expression Magic
Added support for if and switch as expressions (SE-0380), making builder syntax even cleaner and more intuitive.
Why does this history matter? Because if you tried @resultBuilder before Swift 5.8 and got frustrated with cryptic errors or slow compile times, you're in for a pleasant surprise! 🚀
🔍 What is @resultBuilder Really?
Think of @resultBuilder as a translator that converts multiple statements into a single expression. It's like having a smart assistant that takes this:
Text("Hello")
Button("Tap") { }
Text("World")
Behind the scenes, Swift turns that into something like this:
buildBlock(Text("Hello"), Button("Tap") { }, Text("World"))The magic happens at compile time. When Swift sees a closure marked with a result builder, it automatically inserts calls to special builder methods that combine your statements into a final result.
Here’s the fundamental pattern:
struct MyBuilder {
    static func buildBlock<T>(_ components: T...) -> T {
        // Combine components somehow and return
    }
}

func DStack<T>(@MyBuilder builder: () -> T) -> T {
    return builder()
}

func test() -> Any {
    DStack {
        Button("Test") {
            print("Test")
        }
    }
}
The @resultBuilder attribute tells Swift: "When you see a closure being passed to a function expecting this builder, transform the statements inside using my special methods."
🛠️ Complete Basic Builder Implementation
Alright, time to roll up our sleeves and build a @resultBuilder from the ground up. We'll create a string concatenation builder that demonstrates all the core concepts:
@resultBuilder
struct StringBuilder {
    // The fundamental building block - combines multiple strings
    static func buildBlock(_ components: String...) -> String {
        components.joined(separator: " ")
    }

    // Handles optional values (if statements that might be nil)
    static func buildOptional(_ component: String?) -> String {
        component ?? ""
    }

    // Handles if-else branches - first branch
    static func buildEither(first component: String) -> String {
        component
    }

    // Handles if-else branches - second branch
    static func buildEither(second component: String) -> String {
        component
    }

    // Transforms individual expressions before they reach buildBlock
    static func buildExpression(_ expression: String) -> String {
        expression
    }

    // Swift 5.8+: Handles arrays and for-in loops
    static func buildArray(_ components: [String]) -> String {
        components.joined(separator: " ")
    }
}
Next, we’ll plug our builder into a real function:
func createMessage(@StringBuilder builder: () -> String) -> String {
    return builder()
}
And here’s what that looks like when you actually run it:
let greeting = createMessage {
    "Hello"
    "beautiful"
    "world"
}
// Result: "Hello beautiful world"

let conditionalMessage = createMessage {
    "Welcome"
    if Date().timeIntervalSince1970.truncatingRemainder(dividingBy: 2) == 0 {
        "even"
    } else {
        "odd"
    }
    "visitor"
}
// Result: "Welcome even visitor" or "Welcome odd visitor"
Here’s what Swift does step by step when it runs our first example:
- Recognition: Swift sees the closure is expected to conform to
StringBuilder - Transformation: Each line becomes a parameter to
buildExpression - Combination: All expressions are passed to
buildBlock - Result: The final string is returned
For the conditional example, Swift generates something like:
// What Swift generates internally:
buildBlock(
    buildExpression("Welcome"),
    buildEither(
        first: buildExpression("even"),
        second: buildExpression("odd")
    ),
    buildExpression("visitor")
)
🔍 Deep Dive: Understanding Each Builder Method
**1. buildBlock()** — The Heart of Every Builder
This method is doing the heavy lifting — combining all your individual lines into one result. Think of it as the “assembler” that takes all your individual pieces and creates the final output.
static func buildBlock(_ components: String...) -> String {
    components.joined(separator: " ")
}
Why variadic parameters? Because you don’t know how many statements will be in your builder closure. It could be one, three, or ten statements — buildBlock needs to handle them all.
Execution flow: When you write multiple lines in a builder closure, Swift collects them all and passes them as parameters to this single method call.
2\. buildOptional() — Handling the Maybe
This method is called when Swift encounters an if statement without an else clause inside your builder:
static func buildOptional(_ component: String?) -> String {
    component ?? ""
}
Why does this exist? Because if without else might not execute, resulting in nil. Your builder needs to decide what to do with that nil value.
Execution flow:
- Swift evaluates the
ifcondition - If true: passes the result to
buildOptional - If false: passes
niltobuildOptional - Your method decides how to handle the
nilcase
3\. buildEither() — The Decision Maker
These twin methods handle if-else statements. Swift calls one or the other, never both:
static func buildEither(first component: String) -> String {
    component  // This runs for the "if" branch
}

static func buildEither(second component: String) -> String {
    component  // This runs for the "else" branch
}
Why two separate methods? Because Swift needs to determine at compile time which path will be taken, even though the actual choice happens at runtime. This maintains type safety.
Execution flow:
- Swift evaluates the condition
- If true: calls
buildEither(first:)with the if-branch result - If false: calls
buildEither(second:)with the else-branch result
4\. buildExpression() — The Preprocessor
This method is called for every single statement in your builder before anything else happens:
static func buildExpression(_ expression: String) -> String {
    expression  // In this simple case, we just pass it through
}
Why does this exist? It allows you to transform or validate individual expressions before they’re combined. You could add logging, type conversion, or validation here.
Execution flow: This is always the first method called for each statement — think of it as a preprocessing step.
5\. buildArray() — The Collection Handler
This Swift 5.8+ method handles for-in loops and array operations:
static func buildArray(_ components: [String]) -> String {
    components.joined(separator: " ")
}
Why separate from buildBlock? Because arrays come from loops or collections, not from individual statements. The input is already an array, not individual parameters.
🔬 Real Example: Step-by-Step Builder Flow
Here’s a full breakdown of what Swift is doing behind the curtain:
func createMessage(@StringBuilder builder: () -> String) -> String {
    return builder()
}

let result = createMessage {
    "Hello"
    if shouldGreet {
        "there"
    } else {
        "world"
    }
    "friend"
}
Step-by-step execution:
- “Hello” →
buildExpression("Hello")→ returns"Hello" - if-else block → → If
shouldGreetis true:buildEither(first: buildExpression("there"))→ IfshouldGreetis false:buildEither(second: buildExpression("world")) - “friend” →
buildExpression("friend")→ returns"friend" - Final combination →
buildBlock("Hello", eitherResult, "friend") - Result →
"Hello there friend"or"Hello world friend"
🧠 Why This Design?
This might seem overly complex, but each method serves a crucial purpose:
- Type Safety: Swift knows at compile time what types each branch will produce
- Flexibility: You can customize behavior for different language constructs
- Performance: The compiler can optimize each case differently
- Clarity: Each method has a single, well-defined responsibility
⚡ Swift 5.8 Superpowers You Should Know
Swift 5.8 introduced variable lifting, a game-changing feature. You can now declare variables directly inside builder closures:
@resultBuilder
struct AdvancedStringBuilder {
    static func buildBlock(_ components: String...) -> String {
        components.joined(separator: "\n")
    }
}

func createDocument(@AdvancedStringBuilder content: () -> String) -> String {
    content()
}

let document = createDocument {
    // Swift 5.8+: These declarations are now possible!
    lazy var timestamp = DateFormatter().string(from: Date())
    let userName = "Karan"

    "Document created by \(userName)"
    "Generated at: \(timestamp)"
    "Content follows below"
}
Before Swift 5.8, you’d get compiler errors trying to declare variables inside builder closures. Now it just works! 🎉
⚠️ When NOT to Use @resultBuilder
While @resultBuilder is powerful, it's not always the right tool:
Performance Considerations: Builders add compile-time overhead and can create complex type hierarchies. For simple cases, regular functions might be more efficient.
Complexity Trade-offs: DSLs can make code harder to debug and understand for team members unfamiliar with the pattern.
Alternative Approaches: Sometimes a fluent API with method chaining provides similar ergonomics with less complexity:
// Sometimes this is clearer than a DSL:
Query()
    .select("name", "email")
    .from("users")
    .where("age > 18")
That’s a wrap on demystifying @resultBuilder! 🎯 You now understand the core concepts, have seen complete implementations, and know the evolution that brought us here.
In our next article, we’ll put this knowledge to work by building a complete HTML DSL that you can actually use in production. We’ll explore advanced builder methods and see how Swift 5.8’s new features make DSL creation more powerful than ever.
Ready to build something amazing? Let’s keep going! 🚀
🎉 Enjoyed this article? Your support means the world to me!
💬 Drop a comment below! I love hearing about your experiences and answering questions
🎬 Subscribe on Youtube and become early subscribers of my channel: https://www.youtube.com/@swift-pal
💼 Let’s connect on LinkedIn for more professional insights: https://www.linkedin.com/in/karan-pal
Happy coding! 🚀
New articles, straight to your inbox.
No spam, no filler — just new writing on iOS, the web, and AI when it ships. Unsubscribe anytime.
Keep reading
Your CPU Has More Cores Than Your Job Can Use
Some work splits cleanly across hundreds of cores. Other work is a chain of steps where every new step has to wait for the last one to finish.
ReadYour Password Isn’t as Random as You Think
Crack-time calculators measure the size of a theoretical password space—not how people actually choose passwords or how attackers search them.
Read